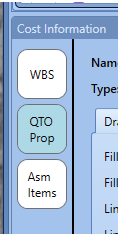
The Cost Information tab now replaces the modification view for the line item. This tab is broken down into three sections:
You can click one, or all three to view the properties of the estimate. The gray splitter is used to expand and minimize the size of the widgets. The location of the splitters is remembered according to the button that is pressed.
The state of the button is remembered for the Cost Database view, the Estimate view, and the Takeoff view.
1. WBS - WBS Property is where a user can modify the WBS Properties of Cost Item in the estimate. "Sticky WBS" will be in Blue text and will always be at the top of the WBS Property tab.

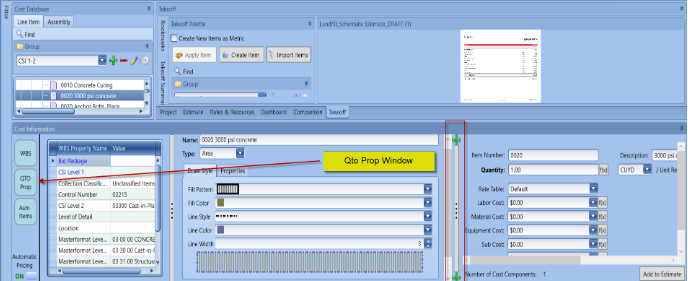
2. Qto Prop - QTO Property shows the takeoff Item palette information as well as the cost item information tied to that palette. The green linked chain means that the select line item will be mapped to the estimate after drawing the takeoff.
3. Asm Items - This Window Pop up to show what the Assembly is doing as a user answer the assembly questions.
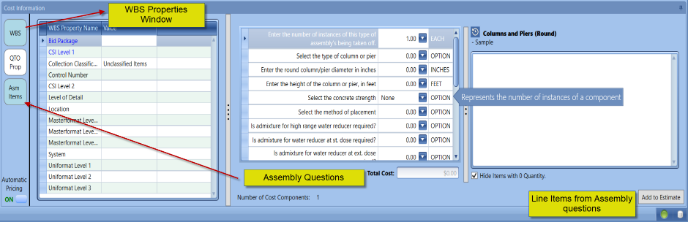
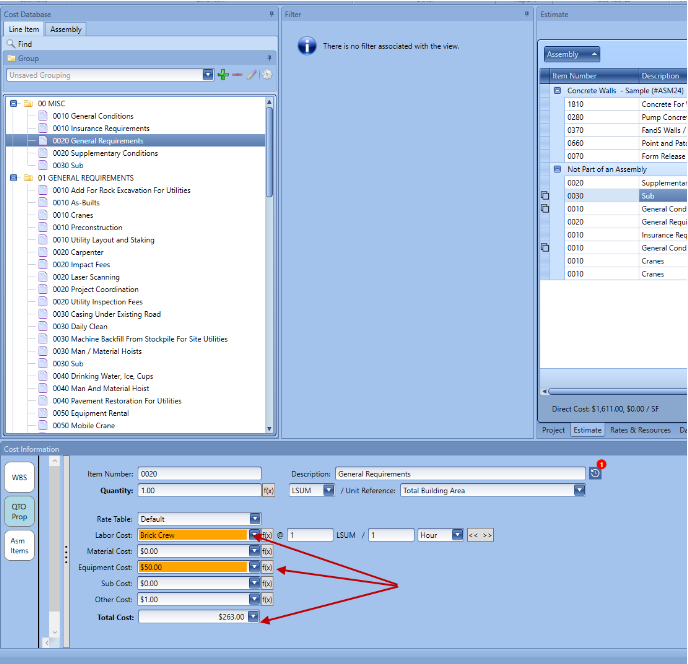
Here is an example of how the Cost Information works using an assembly.
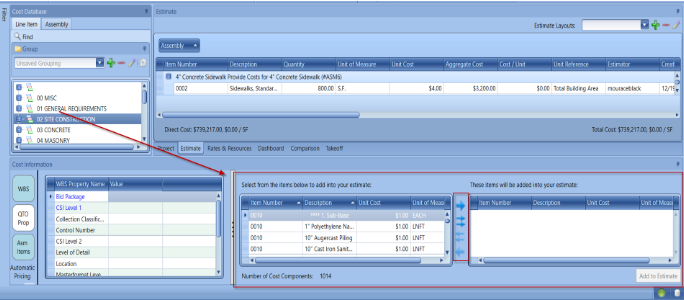
Here is how to modify an Assembly or Line Item
The Staging Area is where you can add the cost item in the estimate or update the selected cost item in the estimate. Clicking on the database grouping header and all the line items in that grouping will populate in the middle Cost Information windows tab. When you select any line items from that staging window, it will move them into the final staging window and you can Add them to Estimate.
Here are some additional new features of the Cost Information tab.
When I select a Line Item in the Cost Database if it's already in the estimate the little red number over the Description shows the count of how many times that line item is in the estimate.

There is now a Total Cost to easily identify the total cost of what is being added to the estimate
See similar articles:
Understanding the Visual Indicators in the Cost Information View (Civ) When Sketching