The Version Comparison Dashboard allows users to compare several versions of a project. For a video walkthrough of the dashboard, please see below. Here, we will show you how to set up the Version Comparison Dashboard in Power BI Desktop.
Very Important: The Build Cost Data View.sql will need to run against the DESTINIData Projects database before setting up the Version Comparison Dashboard file. This needs to get Executed by I.T. or someone with SQL Server Access.
Version Comparison file download
When editing in Power BI Desktop, you will have to use the Control + click method by holding down the Ctrl key and Left Mouse Button clicking the selected tab.
Connecting the data source using Power BI Desktop
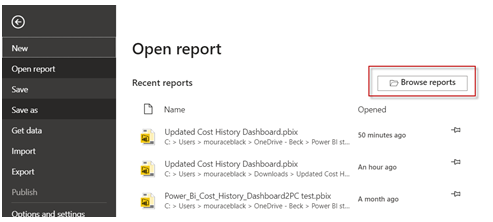
1. Launch Power BI Desktop App then click on File, then Browse Report, and locate where your file was saved ( .pbix).
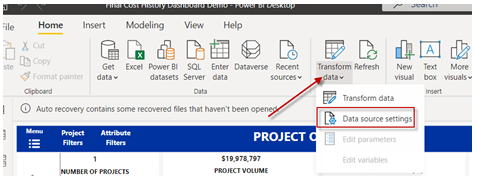
2. Once your dashboard is loaded, click on the arrow on Transform Data and then click the Data source settings
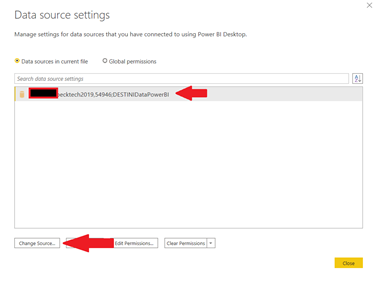
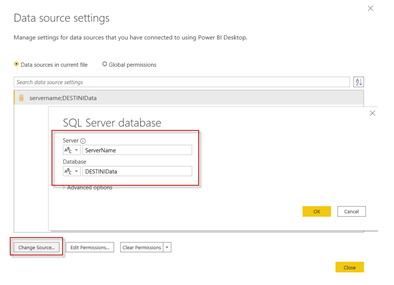
3. Click the Change Source to add your SQL Server and database name as shown in the example below
4. Enter the data as shown in the box below and then click OK
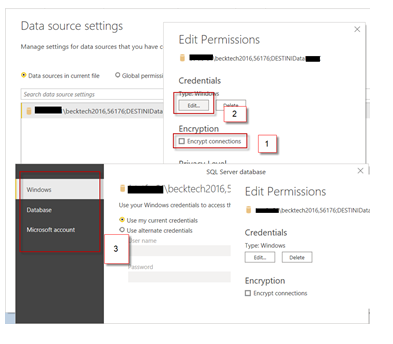
5. Next click Edit Permissions - Uncheck the Encrypt connections> Edit the Credential and Select one of the Authentication methods > Save > then OK
6. Finally, click on Apply Changes and let the file load

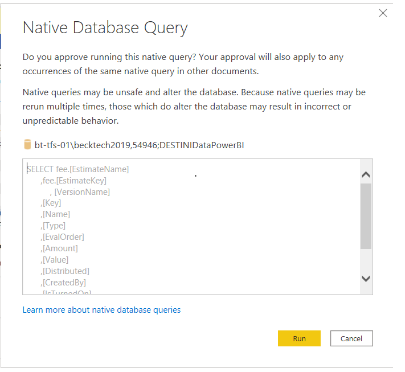
7. You will be asked permission to run a Native Database Query several times. For each one, select "Run".