Read before using the report
Power BI file - Latest Power Bi file download link
The Power BI dashboard is not mandatory and doesn't need to be set up on all users' computers, the goal of the dashboard is to be used for historical costing so this can be set up by one user on their local computer or online and published to a shared Power BI Workspace (see workspace setup below) where all users can view the data.
This is a standard dashboard, Technical Support is not provided for any modification to this dashboard at this time. If modifications are made and that dashboard is no longer working, then re-download the original file and use that one. We will be making modifications to the standard dashboard in the future as the application changes.
Note 1: These setup instructions should be done only once by someone with Admin credentials to the SQL server. Please follow the instructions in this documentation in a sequential manner. Failure to execute all the steps might result in issues with access and utilization.
Table of Content
- Setting up Agent Job using Standard MSQL (IT Dept) or Setting up Task Scheduler for SQL Express (IT Dept)
- How to connect the dashboard to the DESTINIData Estimates database
- Creating a Workspace
- Setting up a refresh schedule, and Dashboard Walkthrough
Setting Up Agent Job using Standard MSQL (IT Dept)
Before you can visualize your data, your dashboard needs to be connected to the DESTINIData "Estimates" database.
Setting up the Agent Job
The first thing that we need to set up is a SQL Server Agent Job, click the link to download the scripts -> Power BI Setup Scripts - file is also attached to the article.
1. Extract the file then Open Management Studio
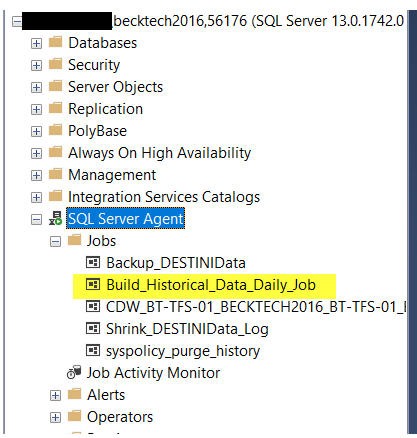
2. Click on the DESTINIData DB > Open Folder > Select the Build Agent Job Script

3. In the script, one or two areas need to be edited based on your database name.
Login Name - This needs to be someone from the S.A. group that has permission to run Jobs.
Database Name - This is the name of your DESTINIData Database that you clicked on.
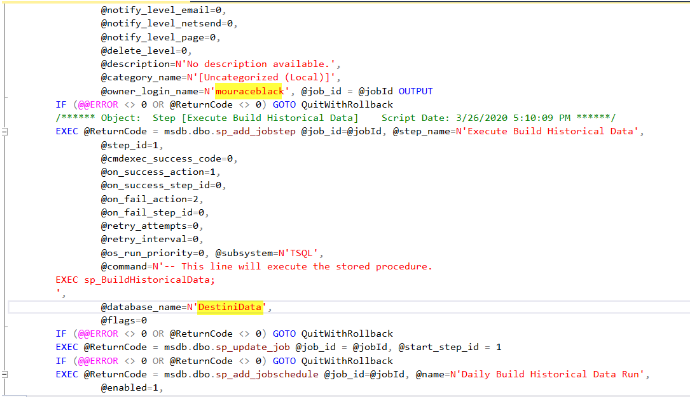
4. Once the changes are done click Execute to run the scripts. This will create the Build_Historical_Data_Daily_Job in the Agent and create a table called dbo.HistoricalCostData
Setting up the Task Scheduler using SQL Express (IT Department)
Note: This section is only for the users that are using SQL Express at the moment. If your Centralized SQL server instance name ends in BECKTECHNOLOGY (example - COMPUTER\BECKTECHNOLOGY) and your database defaults to DESTINIData then just run the batch files in this order:
- A. task_sql_sp_BuildHistoricalData_batch.bat
- B. create_scheduled_task_batch.bat
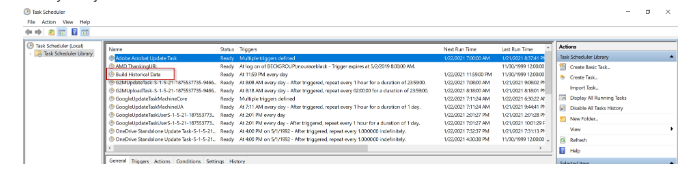
- C. Very the Job is created in the Task Scheduler
If your instance name is something else such as COMPUTERNAME\SQLEXPRESS and/or your database is DESTINIDataMyCompanyName then follow the steps below:
- Download the script from this link - Power BI Set up scripts
- Right-click and edit the batch file task_sql_sp_BuildHistoricalData_batch.bat using Notepad.

- Edit the highlighted fields in red below for the database instance and the DESTINIData database to match your company, then save the file - sqlcmd -S .\BECKTECHNOLOGY -E -d "DESTINIData" -i "%~dp0execute_sp_BuildHistoricalData.sql"
- Double on the task_sql_sp_BuildHistoricalData_batch.bat
- Next double click on the create_scheduled_task_batch.bat
- Verify the job is created in the Task Scheduler
Connecting the dashboard to the DESTINIData database
1. Launch Power BI Desktop App, click on File, browse Report, and locate where your file was saved ( .pbix).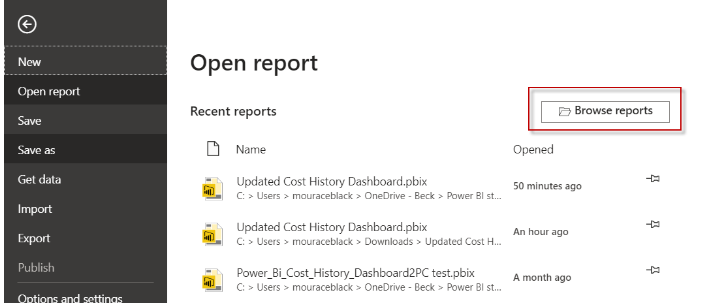
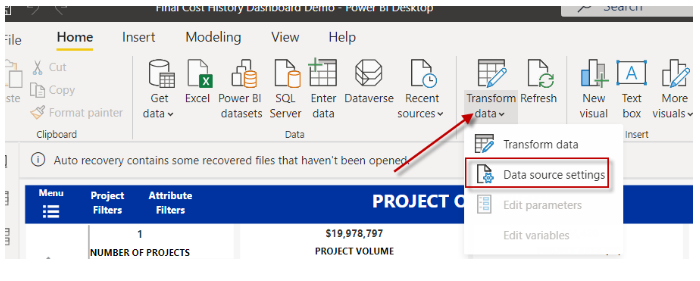
2. Click the Transform Data > Data Source Settings
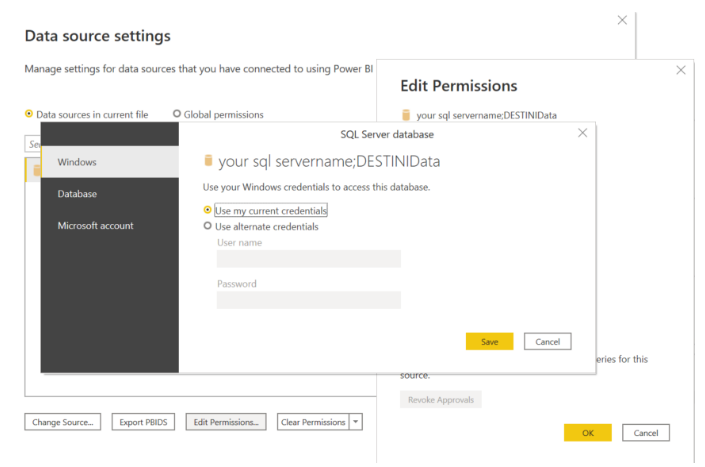
3. Click the Change Source button and then add the name of your SQL Server and the name of your DESTINIData database - if it's called DESTINIData then just add the Server name and click OK.
4. Click the Edit Permissions > Edit to add one of the Permission options. If you use Windows credentials to connect to the database in Estimator, then click Save > OK
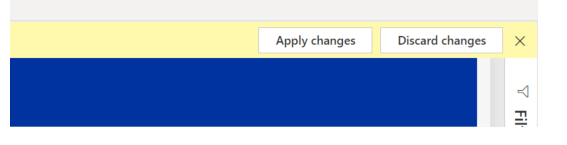
5. Finally click the Apply Changes button
Creating a Workspace
Here is the article on how to create a Power BI Workspace.
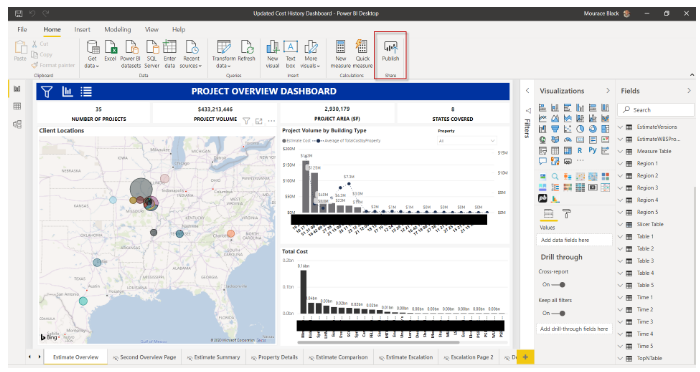
Once the Workspace is created you can Publish the Dashboard to the Web version of Power BI. 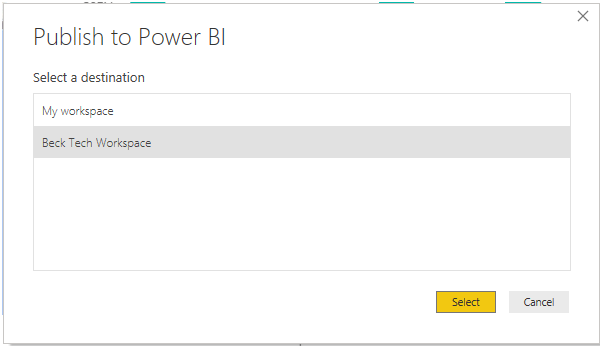
After the Dashboard is published you can open it using the shortcut provided. 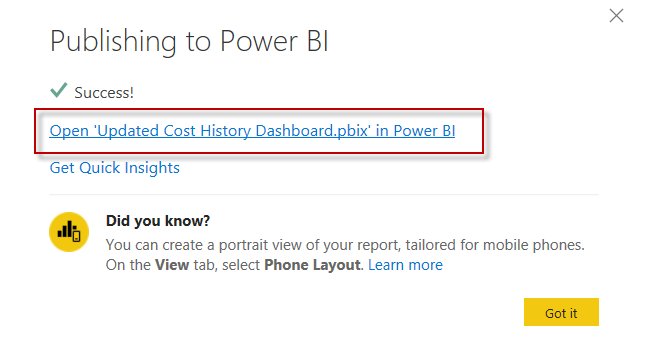
Important: We have a new workflow on how to show the Yearly cost index for projects, which can be found in this article.
Lesson - DESTINI Estimator with Power BI - Cost History File
For a detailed guide to using the Power BI Cost History report, as well as an overview of what Estimator data is available for BI modeling, and how this data may be viewed in Power BI, please take the DESTINI Estimator with Power BI lesson via the Beck Tech training platform.