Power BI Registration
To share your insightful reports and dashboards with others internally and externally, you will need to publish your document to the Power BI Service workspace online. Furthermore, to access Power BI Service online, you will need to have a registered Power BI account if you don't already have one.
Important Note: A free Power BI account cannot be used to perform the below setup in the Hosted Environment because a Pro account is required to publish the Dashboard to a Company workspace.
More information about Power BI Licensing is here: Power BI service per-user and capacity-based licenses
To create a Power BI account:
- Run the Power BI Desktop Application as an administrator.
- You will be prompted to enter your credentials. Use your company email and click done. After clicking done, you will be prompted to sign in. Registering and signing up for an account will be covered. Click the cancel icon for now.
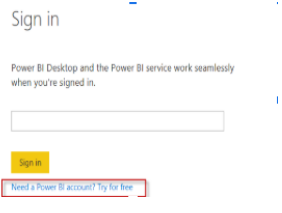
- Click Sign in in the top right corner of your Power BI desktop window.

- If you already have a Power BI account registered with your organization's email address, enter your email in the text field and click sign in. If you are creating a Power BI account for the first time or are unsure if you have an account, click Need a Power BI account. Try for free. Then enter your company email and click Sign Up. You will either be prompted to continue the registration process or you will get a message stating that you already have an account with Power BI.
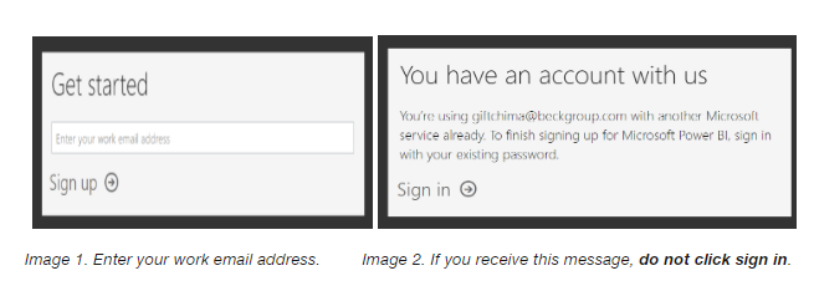
- If you are prompted with a message stating that you already have a Power BI account, proceed to this link https://powerbi.microsoft.com/en-us/landing/signin/ to sign in to your Power BI Online Service.
- Once you are logged into your Power BI online service account. You will need to create a workspace to host and share out your dashboard.