How To Use the ‘Set Escalation’ Feature
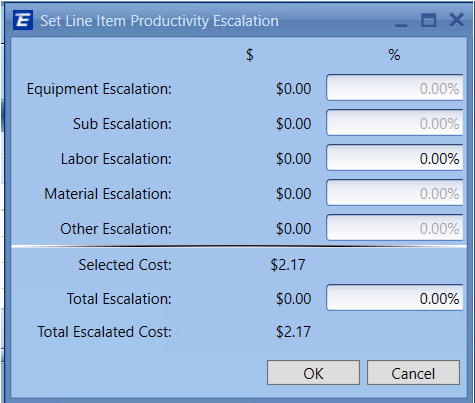
We have broken the escalation into two separate workflows now. There is the standard escalation that involves the total cost and line item productivity escalation.
Non-Productivity Escalation Productivity Escalation
Here are some facts about the line item productivity escalation.
- Adjusting the productivity will have no impact on the escalation values, these commands are completely independent.
- 5 new columns in the estimate view to show the adjusted productivity

- You can escalate both the price and the productivity (With 2 separate actions). In this case, the productivity escalation should be applied first, and then the price escalation.
Update: Maintaining Escalations on Zero Quantity Line Items
With the release of Estimator version 2025.2.0 in August 2025, Estimator was upgraded to support maintaining escalations on zero quantity line items. This means that users will not lose escalations on line items if their quantity is set to zero. See the video below for a demonstration of the change: