This article is for individuals who want to change the logo in their custom report after adopting a new standard report or rebranding their company.
 Change Logo Before And After
Loading your report in the Report Designer
Quick Links
4-Minute Video
Steps
1. Open your report inside the End User Report Designer
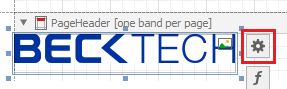
2. Select the logo that you want to change
3. On the right side of the selected image, click the ⚙️ (gear) icon
 The logo is selected inside the report
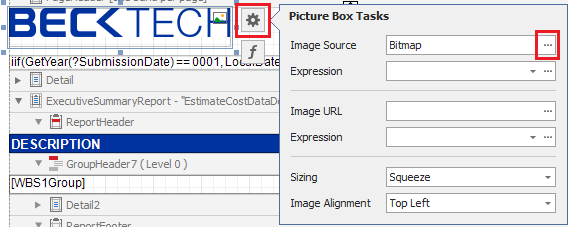
4. Inside the resulting Picture Box Tasks popup, click on the ellipsis (...) button inside the Image Source field
 Ellipsis (...) button inside the Image Source field
You can embed the image directly into your report by using the Image Source field. However, if you prefer to save a path to the image instead, you can use the Image URL field.
5. Inside the resulting Open window, navigate to the file for your next logo.
6. (Optional) Select the band containing the logo and move the bottom edge downward (this will provide more space for resizing your logo)
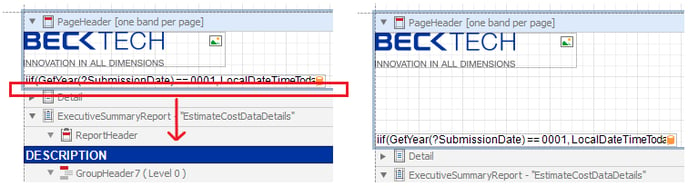 Before and After expanding the band containing the logo
7. Resize the Picture Box to the size you want, without any extra space around the logo itself
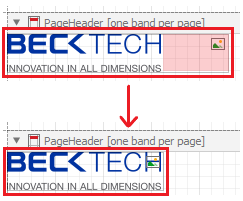 Before and After resizing the Picture Box to remove the extra spacing
If you set the Sizing property to Squeeze, resizing the Picture Box will not cause the logo to stretch.
8. After resizing the logo, adjust the band's size up or down vertically to the position you want.
9. Save and run your report.
Want more content? Let us know by filling out our Training Ideas Submission Form