Hide Data From a Published Dashboard
Power BI is a great way to showcase your historic information to a client. However, when presenting the Power BI dashboard to clients, there might be some information that you want to hide. In this article we explain how to use the Power BI Desktop app to hide data so that it's not visible on a published dashboard.
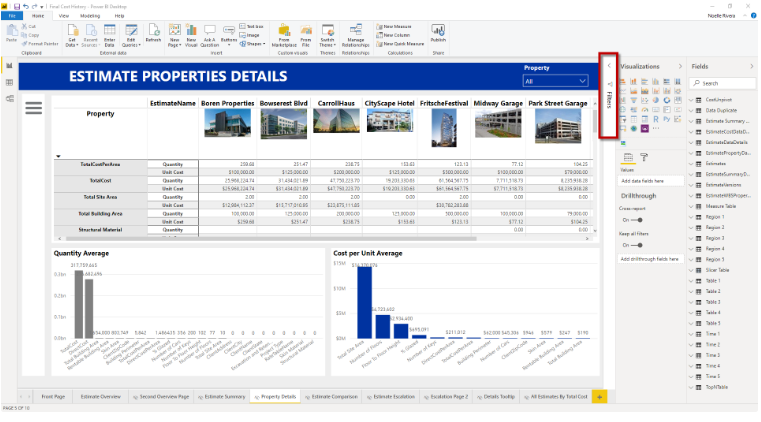
After opening up your Power BI dashboard in the desktop app, select the Filter Pane on the right-hand side to open it.

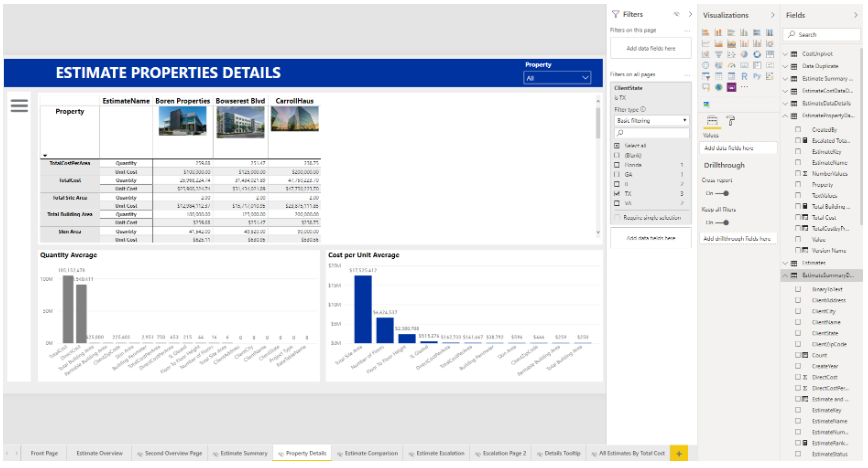
From this filter pane, you can add filters to hide data on the page you are on or across all pages. Take any of that data from the fields and drag it to the relevant section under filters. There, you can select which data points you would like to hide.
In the image below, we are filtering out all estimates that are not in Texas across the dashboard's pages.

Now, when you publish your dashboard, the filtered out data will not show up and cannot be revealed unless the viewer downloads a copy of the PowerBI file.