For some Power BI reports and visuals, you will not need all of the WBS or Project Properties that are built out. In order to bring more clarity to your slicers in Power BI, we can filter out to include or exclude a specific set or properties in the Power BI Desktop app. This article will go over both methods for our Out of the Box Power BI Dashboard.
What is the difference between including or excluding? For including, when you refresh the database and add new properties, these properties will not be a part of the filtered list. The filter listed will ONLY include the properties that you specified. For excluding, the opposite is true. The filter listed will include ALL of the properties EXCEPT for the ones you specified.
Include Only This Set of Properties
After opening up your Power BI dashboard in the desktop app, select the Filter Pane on the right-hand side to open it.
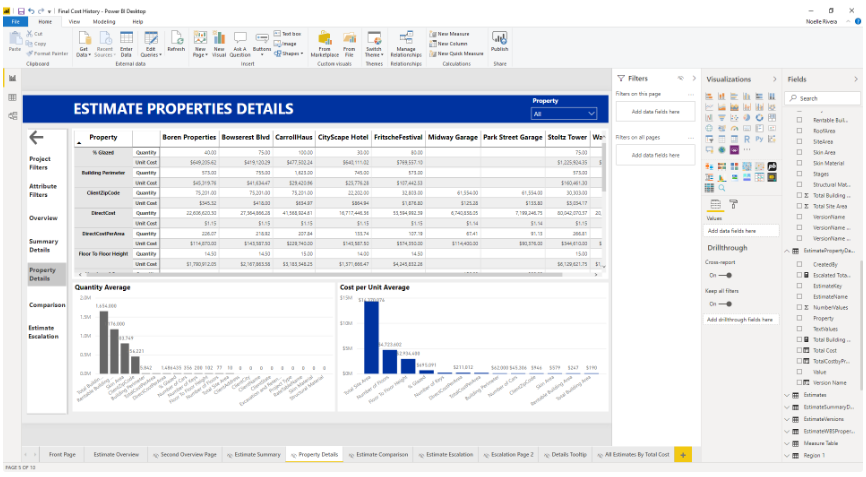
Navigate to the slicer that contains the list you want to pare down. In the example, for Estimate Properties Details, we want to limit the list of the property slicer to Building Perimeter, Floor To Floor Height, Total Building Area, and Total Site Area. In the Filter Pane, select "Property" in the "Filters on this visual" section.
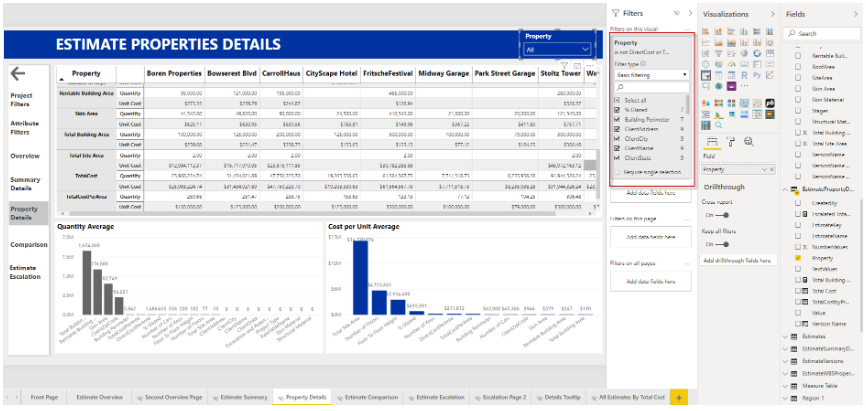
Click "Select All" so that you see "is (All)" under Property and that none of the properties have a check mark next to it. Then, search through the properties and select the ones that you want to show. The filter should now say "Property is..."

Exclude This Set of Properties
This process is very similar to the process above. Once you've navigated to the necessary slicer and selected "Property" in the "Filters on this visual" section, click "Select All" so that ALL of the properties now have a check mark next to it. Then, search through the properties and select the ones that you want to hide. The filter should now say "Property is not..."
