DESTINI Cloud is designed to give you flexibility in how you view and interact with your estimate. DESTINI Cloud remembers and saves your layout and screen configurations, meaning it’s easier than ever to customize your workspace by resetting, docking, floating, and snapping views.
This article details how to rearrange views by floating or tearing them off, how to dock them using snap-in guides, and how to reset everything back to the default state.
Quickly jump to the content you need:
Rearrange Views
Views can be easily rearranged in the main window by clicking-and-holding the corresponding bottom tab (see the highlighted tabs in the screenshot below) and dragging it away in any direction.

Docking guides will appear while dragging a View.

While hovering in one of the docking zones, release the mouse to dock the view to a new location within the workspace.

Float and Dock Views
You can choose to float or dock your Views by right-clicking on the tab and selecting either the Float or Dock option. This lets you move the floating view to other monitors, if available.

The View you selected to Float will now be contained in its own separate window. Below, we elected to Float the Filter View. Relocate this window as you please - either on the same screen or over to another screen entirely.

An alternative way to Float a View is to simply tear it away from the main window. Just click and drag the View top tab away from the main window and release it elsewhere on your display. This method does not dock within the main interface, but makes the View it's own entity.

A floating View can be easily snapped back into the main view, either by right-clicking on the top bar and selecting Dock, or dragging it back to the main window and using the snap-to feature described above.

DESTINI Cloud automatically saves layout changes so no manual save is required.
Reset Views - Restoring the Default View Arrangement
You can quickly reset your views back to default at any time by pressing the Reset Views button on the Home Tab. This is the easy-button for bringing everything back together in one spot.

This button will snap all floating Views back into the main window, and restore the default View arrangement.
Auto-Hide
Each view has an Auto-Hide feature which can be toggled with a push pin on the top right. This push pin toggles a view to automatically collapse into a tab when not in use, saving screen space. You can reverse this process by opening the tab and left-clicking the push pin again to pin open the tab.

Clicking on a Pin icon allows you to pin a View open to keep it in view indefinitely. Do this when you need a View to remain open even when you are working in another View (eg. keeping the Filter View open as you work inside the Estimate View).

Clicking to Unpin or Auto-Hide a View will minimize it to a small tab. In this state, the View will only expand when clicked on, and it will automatically snap back to its minimized state when you click on any other view.

Minimize the Main Ribbon
Struggling with limited screen real estate? Claw back a little extra space by minimizing the main Ribbon.
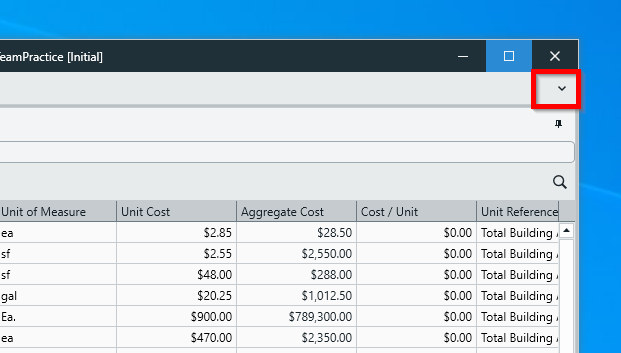
Click on the little arrow icon on the upper-right edge of the main Ribbon.
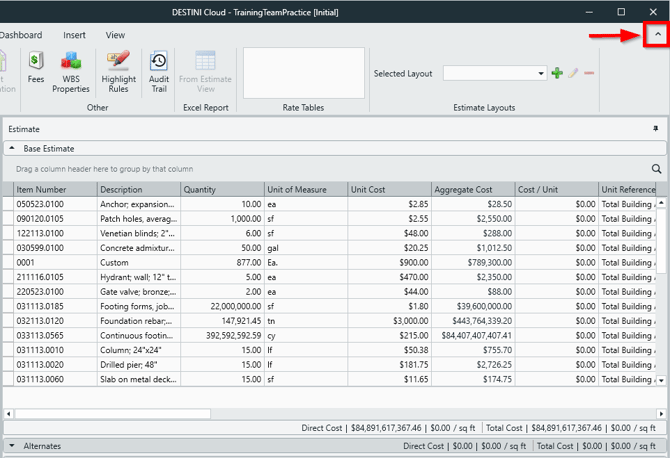
This will minimize the main Ribbon, freeing up precious space for productivity.
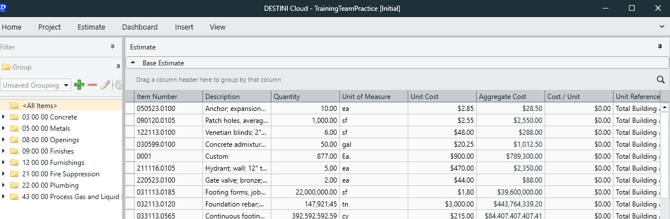
Click on a View in the top menu bar to view the Ribbon temporarily, or click on the arrow again to restore its default expanded form.
Suggest an Improvement for this Article