
Styles let you quickly apply your company's branding to reports. By default, every line-item row uses the same style, but many organizations prefer alternating row colors to improve readability and make individual line items easier to distinguish. This article describes how to configure alternating row colors for line items in your reports.
Create a New Style
Use the following procedure to create a new style for alternating rows. The example in this procedure creates a light grey background for alternating rows.
For more information about styles, see, Change Fonts and Colors in Your Report With the Styles Editor.
- Open an estimate in DESTINI Cloud: Estimator.
- Navigate to Home > New Report. Report Designer opens.
- Click File > Open.
- Navigate to the folder with the report template file (.repx) you want to modify.
- Click the .repx file to open it.
- On the right side of your screen, at the bottom of Report Explorer, verify the Report Explorer tab is selected.
- Right-click Styles and then select Edit Styles. Styles Editor opens.
- In the left pane, click CostItemDetails.
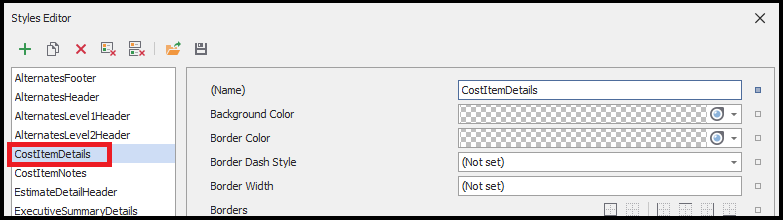
- Click the Clone a style button (
 ) in the top left corner of the window.
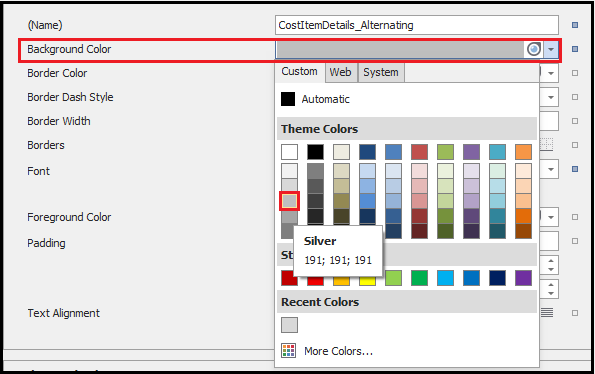
 - With the new style selected, enter CostItemDetails_Alternating in the Name field.
- Click the Background Color option and choose a gray (or silver) color.
- Click Close.
Change the Report Design
Use the following procedure to apply the light gray style to alternating line-item rows.
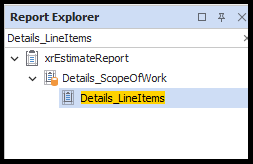
- Locate the Search box at the top of Report Explorer on the right side of your screen.
- Search for Details_LineItems and click the result.
- In Designer in the middle of your screen, click the GroupHeader band that prints line-item information (GroupHeader10 in the Owners report).
Note: For the LMSEO report, select the first table row (TableRow15) inside the group header. - With the GroupHeader band selected, click the Function button on the right.

- On the left side of the Expression Editor window, click Style Name.
- Inside the text box in the top middle of the window, paste the following and click OK.
Iif(GroupIndex(0) % 2 = 0, 'CostItemDetails', 'CostItemDetails_Alternating')
Note: If you prefer to switch the row colors, you can use the following expression so odd rows in the grouping use a light grey background and even rows use a white background.
Iif(GroupIndex(0) % 2 = 1, 'CostItemDetails', 'CostItemDetails_Alternating') -
Save and run the report.