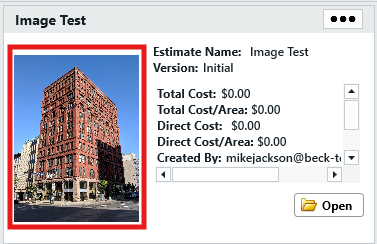
Adding an image to your Estimate card is not essential, but it can make it easier to see at a glance what project an estimate belongs to, and can make finding a particular estimate easier.
There are two methods of adding an image to an estimate; the the point of creation in the Create New Estimate window, or at any time in the Estimate Information option. See below for instructions on both methods:
Via the Create New Estimate Window
An image can be added to your estimate during its creation.
- From the Start View, click New > Estimate.
- In the Create New Estimate window, you will see a large field that reads, "Add an image to enhance your team estimate". Click in this field to open a file explorer window.
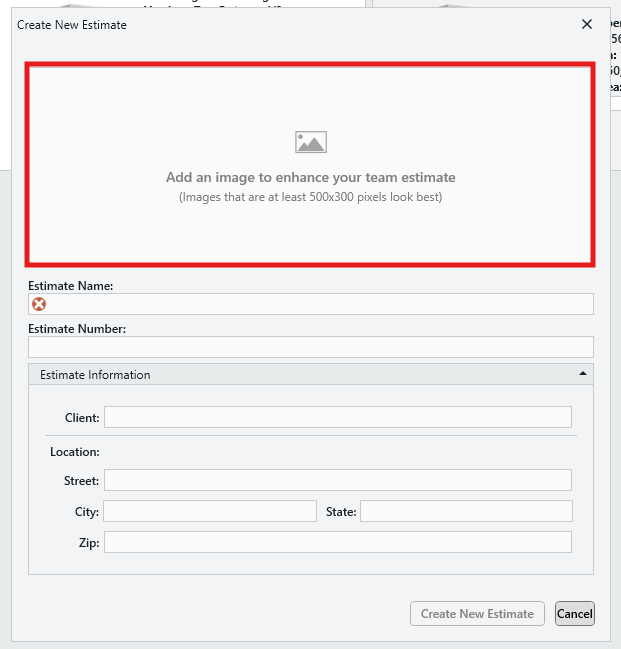
- Navigate to and select your image file - click Open to confirm.
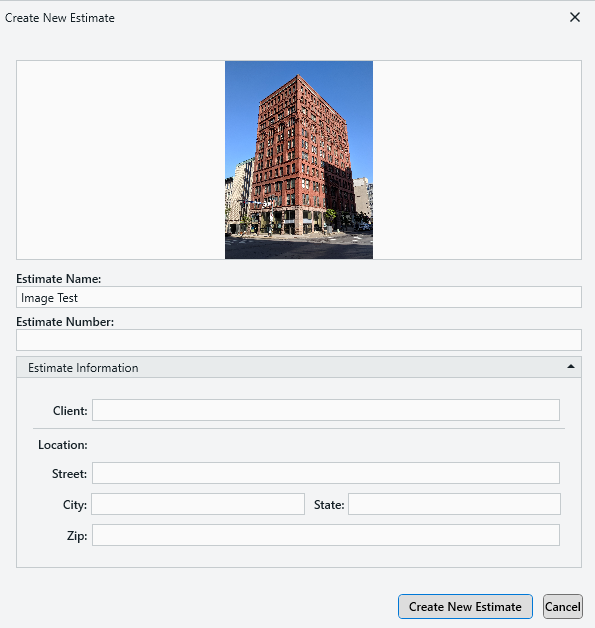
- Your image will be loaded. Click Create New Estimate to continue.
Via the Estimate Information Window
If you didn't add an image to an estimate at creation, it okay - an image can be added to an estimate at any time via the Estimate Information window.
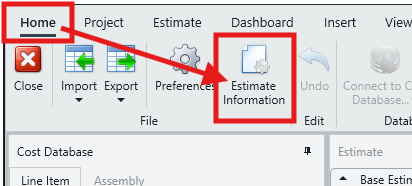
- Open the estimate in question, navigate to the Home View, and click on Estimate Information.
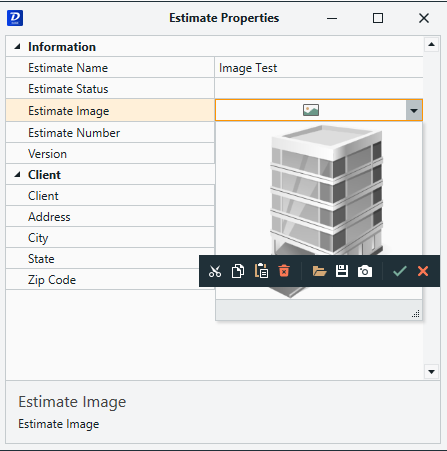
- Click on the Estimate Image drop-down box.

- Hover your mouse over the default image window to reveal a pop-up context menu.
- Click on the Open folder icon to open a File Explorer window.
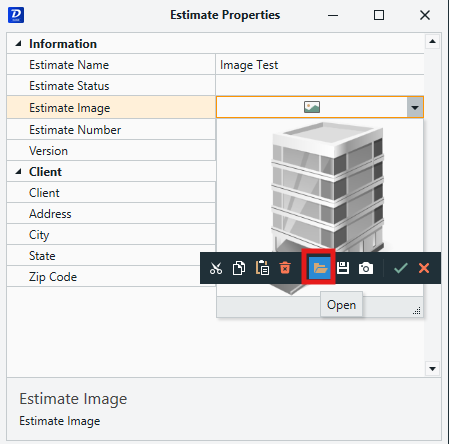
- Navigate to and select the image file. Click Open to confirm.
- The image will be loaded.
The Estimate Information window also allows you to remove or change an estimate image at any time. Here is a list of the functions in the Estimate Image pop-up menu (from left to right):

-
- Cut
- Copy
- Paste
- Clear (Delete)
- Open
- Save
- Take Picture from Camera
- OK
- Cancel