The 'From Estimate View' report option allows users to generate a report that replicates the configuration/layout of their Estimate View.
This can be useful when you have configured your Estimate View with a layout to show the exact data needed for a deliverable - in a few clicks you can generate an Estimate View Excel Report with the exact same layout, perfect for a customized client deliverable, an in-house review report, or potentially as a data-dump for import to another tool.
Setup for the Formatted Report
1. Download the Estimate View Report template files from this article - Download Links for DESTINI Cloud. If you download all the templates as a zip file, right-click and extract them.
2. Place the report template files in a centralized location:
-
Save the report template files in a centralized, shared location, such as a team SharePoint site or shared OneDrive folder, so all users can access the same templates.
-
This helps maintain consistency and supports collaboration across Cloud workflows.
3. Configure Estimator to point to the correct folder:
-
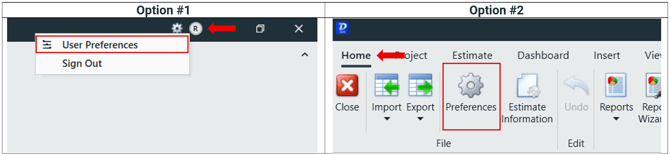
Open the Preferences menu in Estimator.
-
Option 1: Title Bar → Circle initial icon → User Preferences
-
Option 2: Home Tab → Preferences gear icon
-
- Locate the From Estimate View Reports option and click the pencil icon to the right to configure the folder.
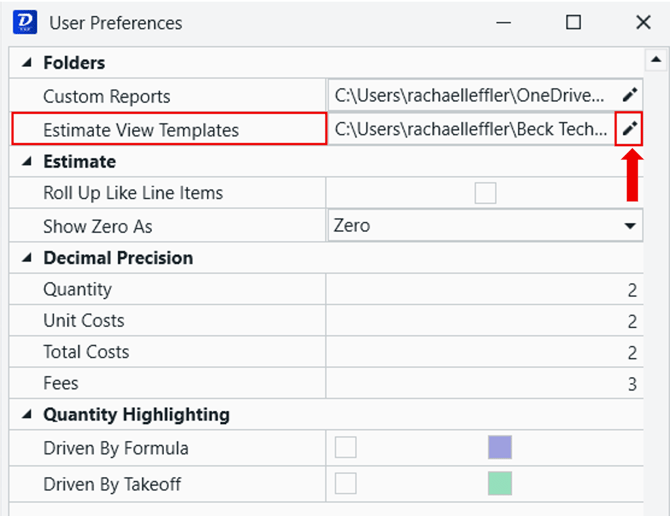
- Browse to the folder where you placed the report template files, highlight it, and click OK.
- Close the Preferences menu.
Run the Formatted Report
1. Navigate to the Estimate View.
2. Make sure that the layout of your Estimate View is configured to your liking. The Estimate View Excel Report will replicate this configuration.
Because Estimate View layouts are not saved automatically in Cloud, be sure to save the Estimate View to preserve your current configuration before exporting.
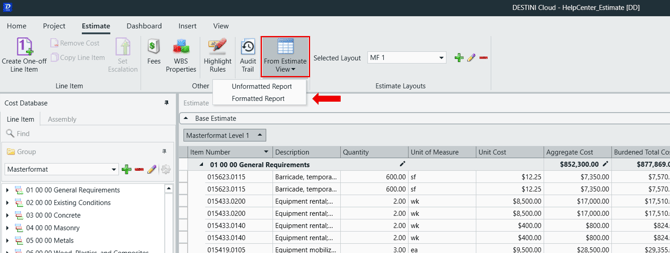
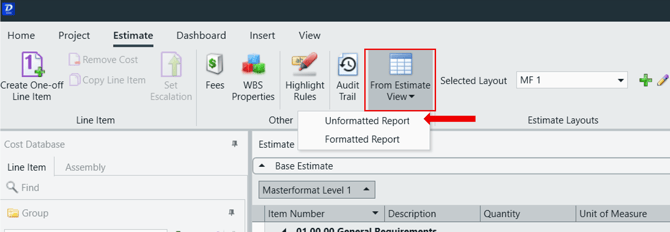
3. Click on the From Estimate View button and select Formatted Report.
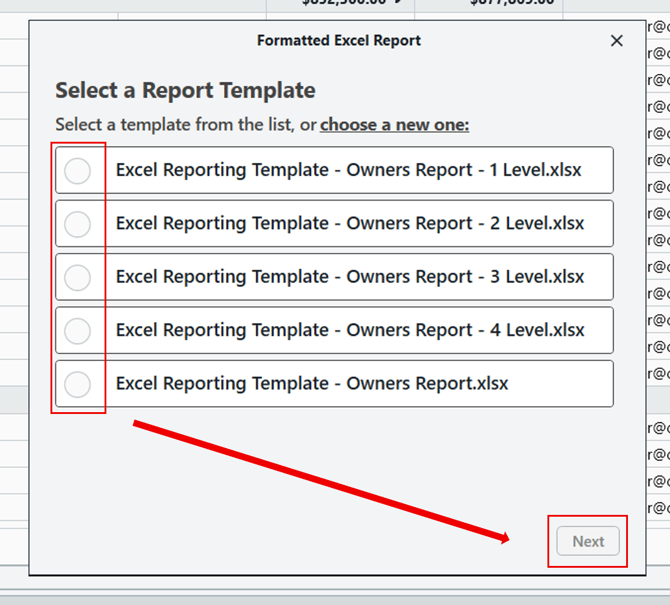
4. In the popup window, select the formatted report template you'd like to run and click Next. If you don't see any reports here, see the Setup section above.
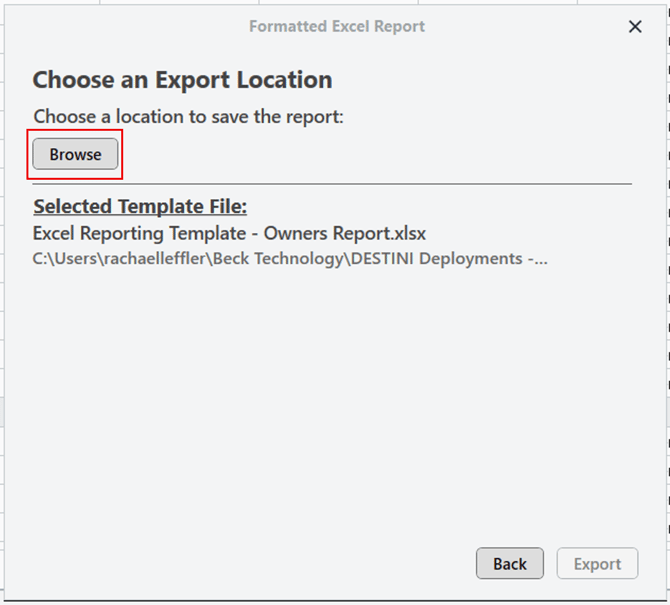
5. Click Browse, navigate to the location where you want to save the report file, and enter a file name in the Filename field.
-
Select a shared location, such as a team SharePoint site or shared OneDrive folder, so the report file can be easily accessed when needed.
-
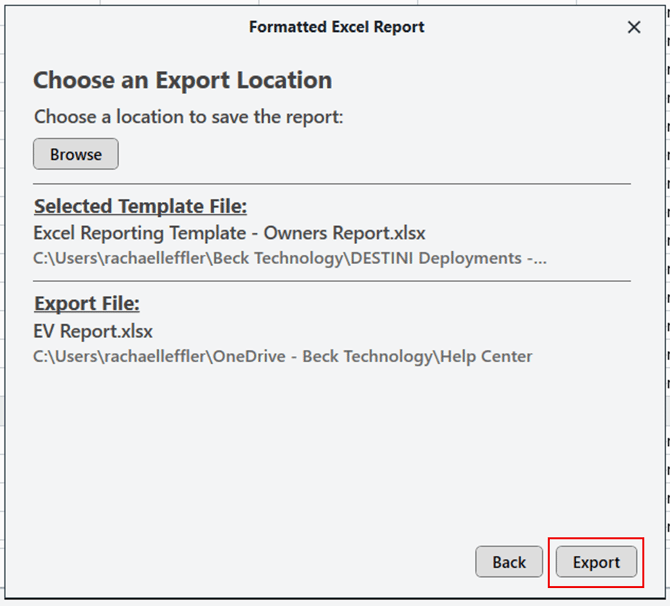
Click Save to confirm.
6. Click Export. The report will be generated and saved in the location you selected.
7. The Report Complete screen provides two options for opening your report:
-
Click file to open the report
-
Opens the report immediately for quick review.
-
-
Show in folder
-
Opens the folder where the report was saved so you can access the file later, share it with others, or open it using your preferred workflow.
-
Both options reference the file saved in the location selected earlier.
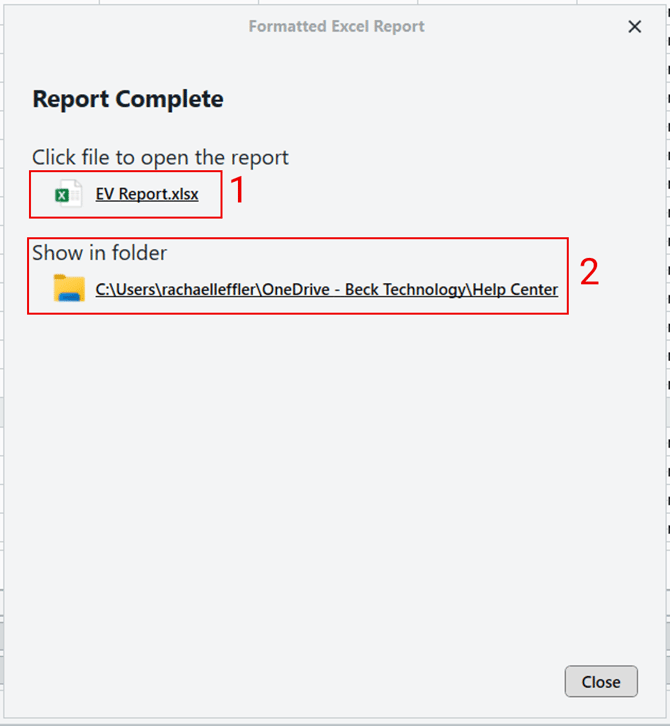
8. Once you've opened your report, you can click Close to close the Report Complete window.
Run the Unformatted Report
The Unformatted Report exports the data from your Estimate View exactly as it appears on screen, without applying a report template or additional formatting.
This option is ideal for quick exports or simple data reviews where totals, fees, and formatting are not required.
1. Navigate to the Estimate View and confirm the layout and grouping are set exactly how you want them exported.
Because Estimate View layouts are not saved automatically in Cloud, be sure to save the Estimate View to preserve your current configuration before exporting.

2. In the ribbon at the top of the screen, locate the From Estimate View button.
3. Click the dropdown arrow next to From Estimate View and select Unformatted Report.
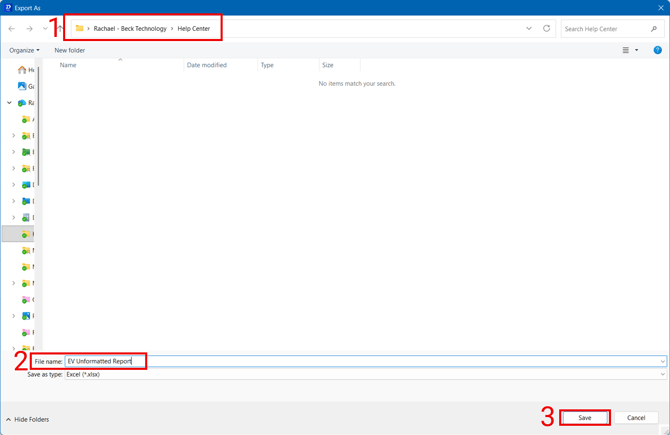
4. When prompted, browse to the location where you want to save the report file and enter a clear, descriptive file name.
5. Click Save to complete the export.
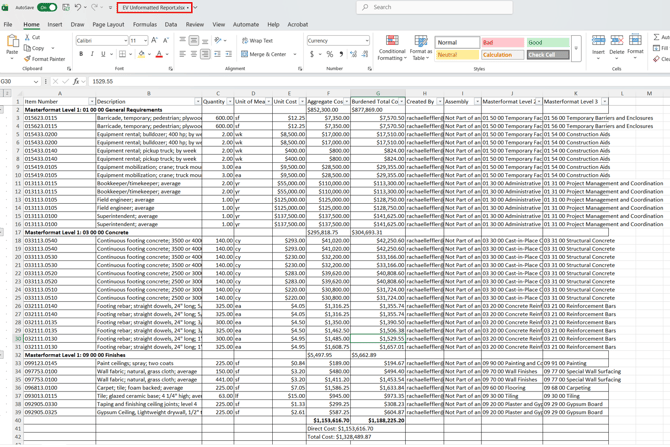
6. Open and Review the Report.
-
Once the export is complete, open your file location and double click the Excel file to open the Unformatted Report.
Suggest an Improvement for this Article